
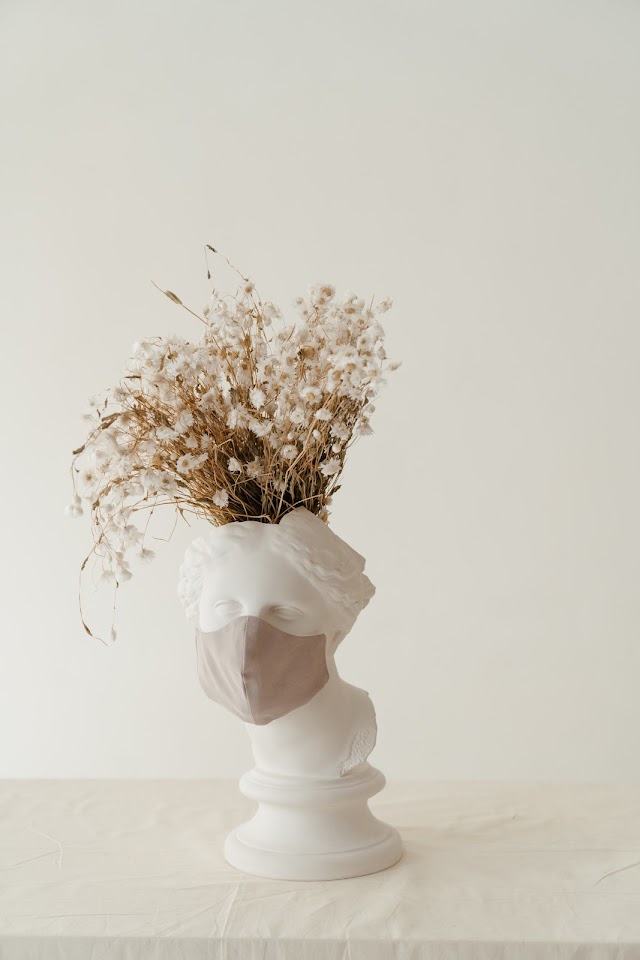
Basic photography tips for beginners
If you have started photography and buy a new camera for photography or you are shifting from mobile to camera for photography. Then you will face many issues with your camera about how to use the aperture, ISO, white balance, etc.

There are many types of photography and this tips will help you in each type of photography. This tips will really going to help you to improve your photography skills.
12 Tips for the beginner photographers

1. Buy a tripod
Tripod is an essential accessory for photography. It will help you to capture long exposure photography, where you leave the shutter open for seconds or even minutes at a time, which can make for some amazing effects when you click cityscape or using steel wool.
When you decide to buy a tripod then you must have to check it's not too heavy because if it is heavy then you may have difficulties in carrying a heavy tripod with you. So before buying check it must be lightweight and able to hold the weight of your camera and lens which you use in photography.
2. Understand the exposure triangle
There are three most important elements of exposure triangle are; ISO, aperture and shutter speed. When you start clicking photos in manual mode you must need to be able to use these three things to get the sharp and more detailed pictures of your subject.
ISO:
ISO controls the camera sensitivity towards the light or light source s. When you decrease your ISO your camera will be less sensitive towards the light and when you increase your ISO then your camera will be more sensitive towards the light. In different lighting situations different ISO is used.
When you are shooting outdoors or in daylight you have to keep the low ISO for e.g; ISO 100 or 200, but when you are shooting indoors or at night you have to keep the high ISO for e.g; ISO 800 or high if it is necessary.
Aperture:
Aperture refers to the opening of the Lens and it controls how much light gets through the image sensor and the depth of the field. Wide aperture is indicated by a lower f-number and it gives more light to the sensor, but it has a narrow depth of field. Narrow aperture is indicated by a higher f-number and it gives less light to the sensor, but it has a wider depth of field.
You can wider the aperture if you want to focus on your subject only. When you want the whole scene in full focus you have to use a narrow aperture.
Shutter speed:
Shutter speed controls how long the shutter stays open when you take a picture. When you click a picture with a fast shutter speed you will get good freezing effects and when you click a picture with a longer shutter speed then you will get a good motion blur picture. When you have a tripod you can use long shutter speed for amazing effects.
3. For the best portraits images use the wide aperture

When you are shooting portraits of people or animals you always need to check that your subject should be the main focus of the picture and you can achieve this by using a wide aperture. This will keep your subject sharp, while blurring out any distractions in the background.
It will help you to attract the attention of viewers of the subject rather than background.
4. For landscapes photography use narrow aperture

In Landscape photography everything in image needs to be in focus. So when you’re shooting a scene where you want everything to be fully in focus, you have to select a narrow aperture for the clear and full focused images. For narrow aperture always use higher aperture because it is helpful to focus on the full scene that you want to capture.
5. Always check the ISO
If you are using manual mode then before starting your shoot always check your ISO so you adjust it as per situations. It is necessary because if you don't check the ISO and start your photoshoot the ISO which is not suitable for the situation then your whole effort will be wasted.
To avoid this type of problem you have to check the ISO of your camera before you start clicking pictures.
6. Adjust the white balance

White balance can help you capture colours more accurately. Different types of light have different effects on colours of the image. So if you adjust the white balance you can get images with more Color accuracy.
Learn more about How to use white balance
7. Be more creative with subject
Always try to be more creative when you are taking photos. You can change the angle and get a completely different Photo of the same subject. If you click the picture of a single subject from different angles then you have a good collection of pictures so you can select the best one.

Changing angle is not the good idea in some cases so you may have to go closer to the subject. You can use your creative mind for clicking creative Photos.
8. Check the background
You must have to keep your background simple because many times colourful things in the background may attract viewers attention towards them. So always check the background of your image.
It can be simple to remove the obstacles from the background by making the background blur or changing the angle of the camera or you can move your subject. You can also take help of editing to remove obstacles.
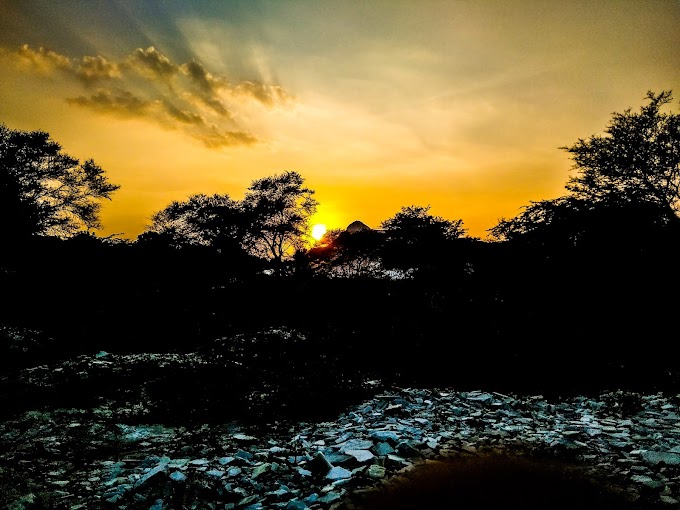
9. Try to shoot in the golden hour (sunrise and the sunset)

Lighting is the factor that affects the image most. In photography, the hour just after the sun rises or before the sunset is called the “golden hour” because the sun is lower in the sky and the light is softer and warmer. Many professional photographer's click photos during the golden hour because in this time they can click images with good light without any setup.
Whether you’re shooting landscapes, portraits or still life, using the early morning or evening light can give you a perfect image. Well golden hour is not only a perfect time to take photos outdoors but it just makes your work easier.
10. Use a good photo editing software

When you start clicking the good pictures then you must have to start editing the images that you have taken. Because with the help of editing you can correct many of the mistakes that you have made. Like you can remove the obstacles from image, give perfect exposure to the image and many more things that you can do with your image with the help of good editing software
If you don't know how you can edit your picture or you don't know the basics of editing, read my blog. Learn photo editing online.
11. Select the best picture
Always be selective with your work, you have to take multiple pictures of a single subject from the different angles, and you have to select the best picture from all the pictures that you have taken. This the trick that all of the professional photographers are using, they only show the best photos.

If you are sharing your work on social media platforms like Facebook and Instagram and you want people to like your work then only you have to show your best work rather than all the photos that you have taken.
12. Try to find mistakes and improve them
If you get a blurry image, overexposed image or have lack of focus then don't demotivate yourself because every professional photographer has faced this kind of problems in their beginning even i also face this type of issues in my beginning journey. You have to learn from those pictures analys your mistakes and try to improve them.
Many times there is a simple solution for a problem that you are facing. So try to find a way to solve the problem, you may learn something new from your mistakes.
If you guys learn something new from this blog the please comment and share this blog with your friends.


0 Comments